Creating a New Project
To get started with a new project on our platform, follow these simple steps:
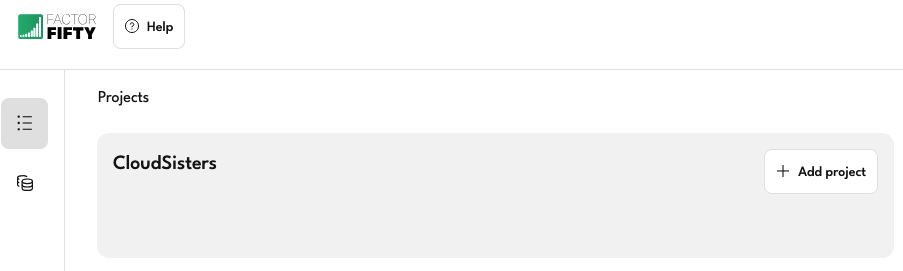
1. Navigate to the Landing Page
Once logged in, you'll be taken to the Landing Page, where you can manage your existing projects or create new ones.
2. Click + Add Project
- Look for the + Add Project button, usually located at the top-right or prominently on the page.
- Click it to begin creating a new project.
3. Fill in Project Details
You’ll be prompted to enter the following information:
Name
Enter a unique name for your project.Provider
Choose from the available providers in the dropdown.
(Note: options may vary based on your account settings.)Region
This field is prepopulated based on your provider or organization defaults.
You can change it if needed.
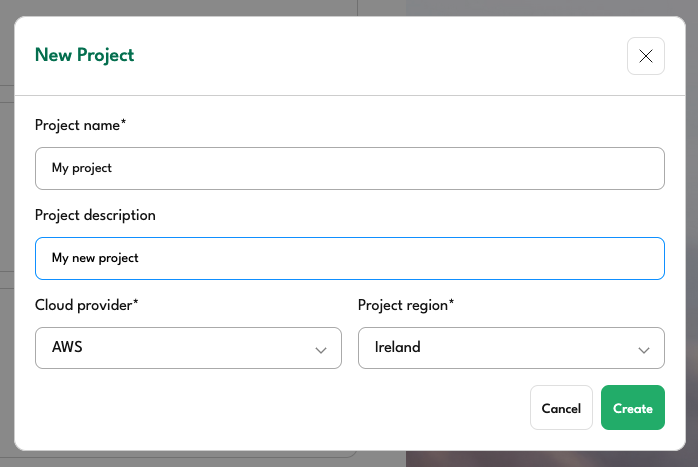
4. Save / Confirm
After completing the form:
- Review the details for accuracy.
- Click Create to finalize the project setup.
Your new project will now appear on the Landing Page and be ready for configuration or deployment.