Onboarding an AWS Account
This guide walks you through connecting your AWS account to Factor Fifty.
Prerequisites
- Access to the AWS account you want to onboard
- IAM permissions to create roles and policies in the target account
- A Factor Fifty project to add the environment to
Step 1: Create an IAM Role in Your AWS Account
Before adding your environment in Factor Fifty, you need to create an IAM role that allows Factor Fifty to access your AWS account.
Create the Role
- Open the IAM Console in your AWS account
- Navigate to Roles → Create role
- Select Custom trust policy as the trusted entity type
- Enter the following trust policy:
{
    "Version": "2012-10-17",
    "Statement": [
        {
            "Effect": "Allow",
            "Principal": {
                "AWS": "arn:aws:iam::872515262065:root"
            },
            "Action": "sts:AssumeRole",
            "Condition": {
                "StringEquals": {
                    "sts:ExternalId": "<EXTERNAL_ID>"
                }
            }
        }
    ]
}
Replace <EXTERNAL_ID> with the External ID shown in the Factor Fifty "Create environment" dialog. This ID is unique to your organization and is required for security.
- Click Next
- Search for and attach the AdministratorAccess policy
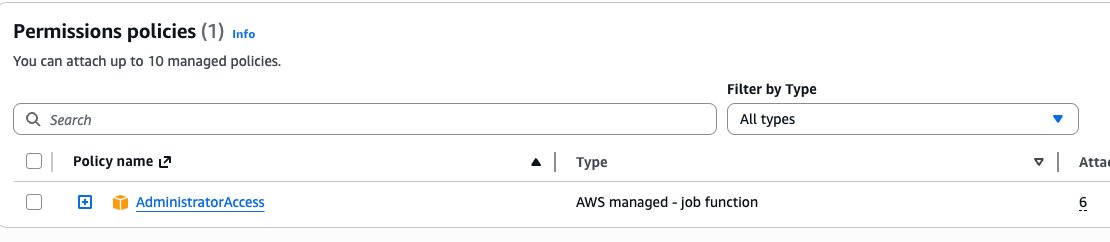
- Click Next
- Enter the role name:
FactorFifty-Onboarding - Click Create role
Step 2: Add the Environment in Factor Fifty
- Navigate to your project in Factor Fifty
- Click Add new environment
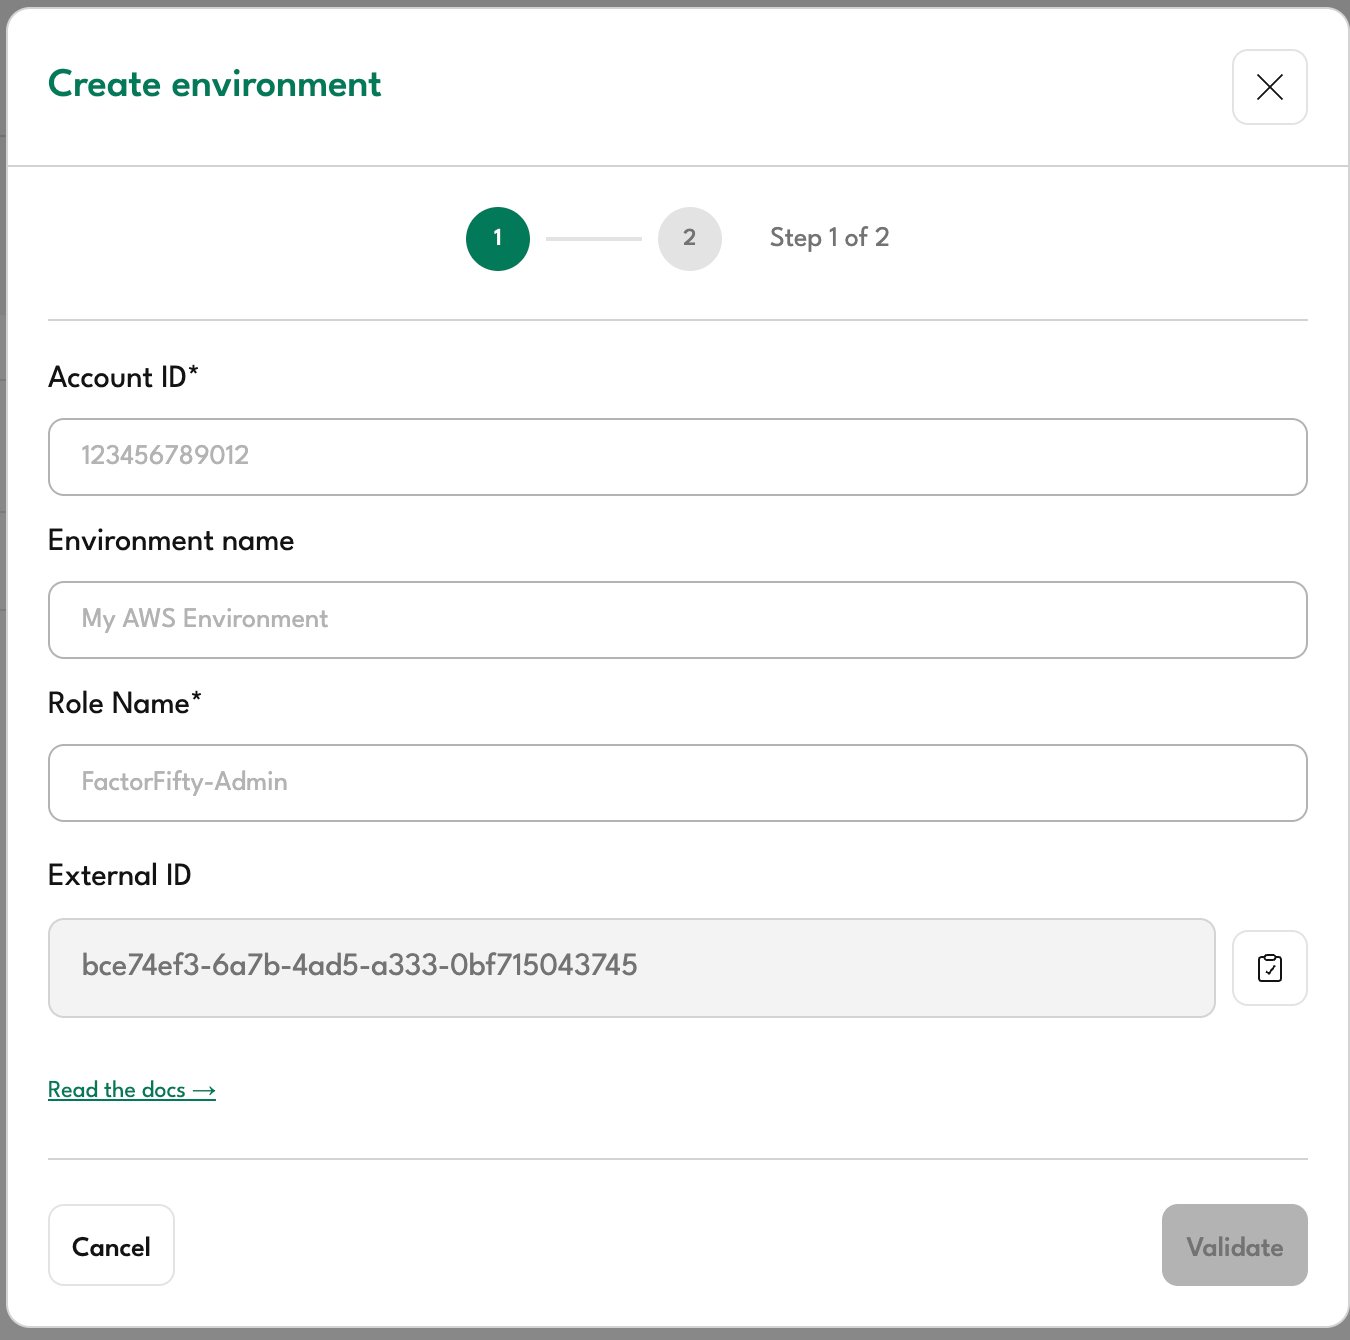
- Fill in the required fields in Step 1:
| Field | Description |
|---|---|
| Account ID | Your 12-digit AWS account ID |
| Environment name | A friendly name to identify this environment (e.g., "Production", "Development") |
| Role Name | The name of the IAM role you created (default: FactorFifty-Admin) |
| External ID | Auto-generated unique identifier - use this value in your trust policy |
- Click Validate
After creating the IAM role in AWS, wait a few seconds before clicking Validate. AWS IAM role propagation can take a moment.
Step 3: Configure Environment Settings
Once validation succeeds, you'll proceed to Step 2:
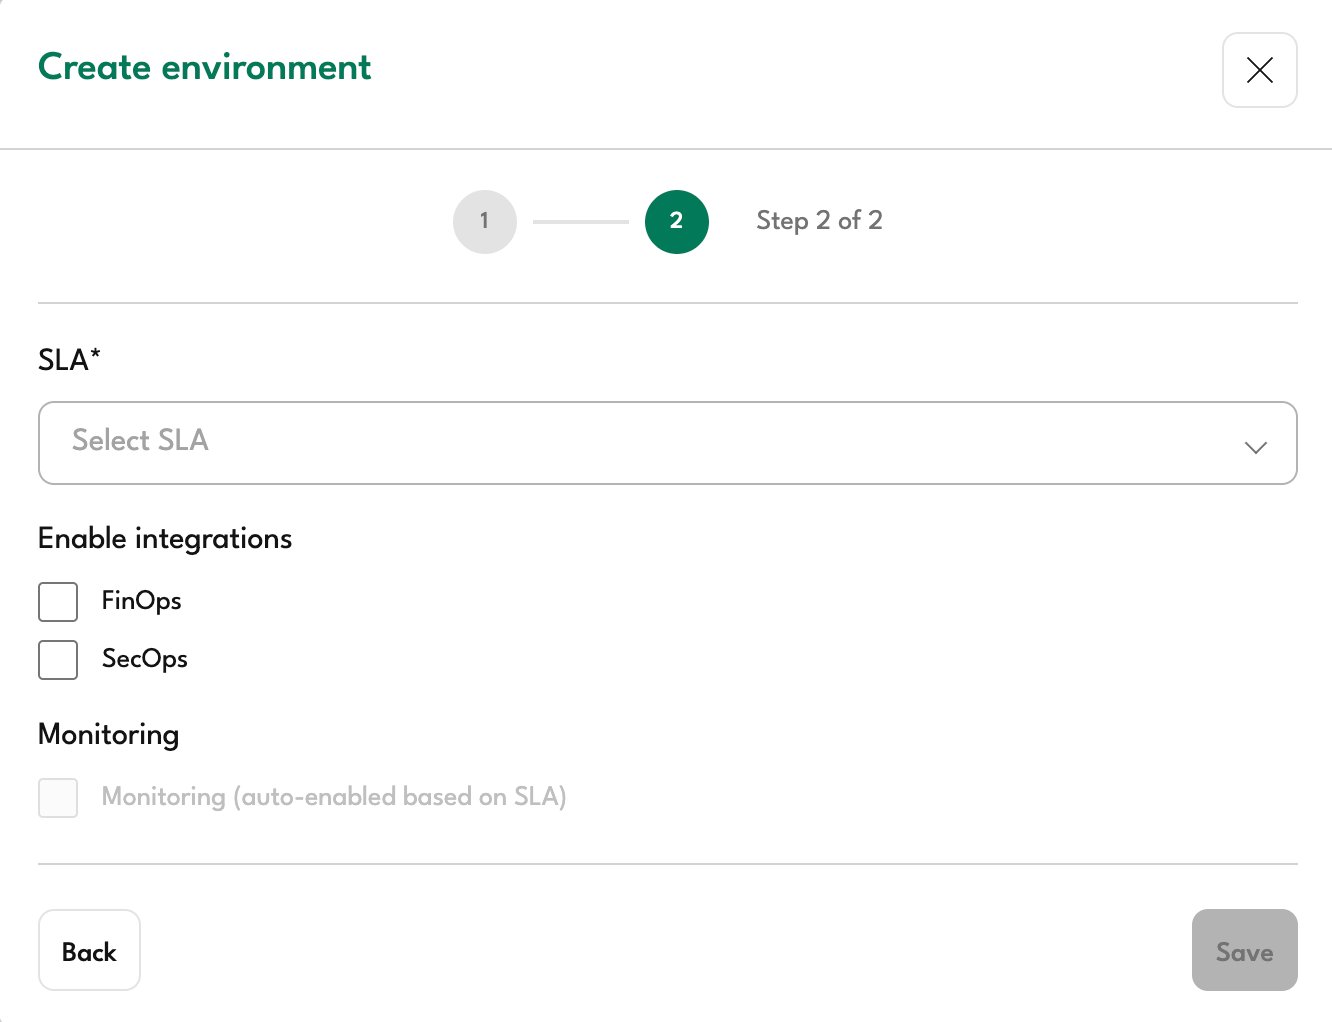
Select SLA
Choose the appropriate Service Level Agreement for this environment:
| SLA | Description |
|---|---|
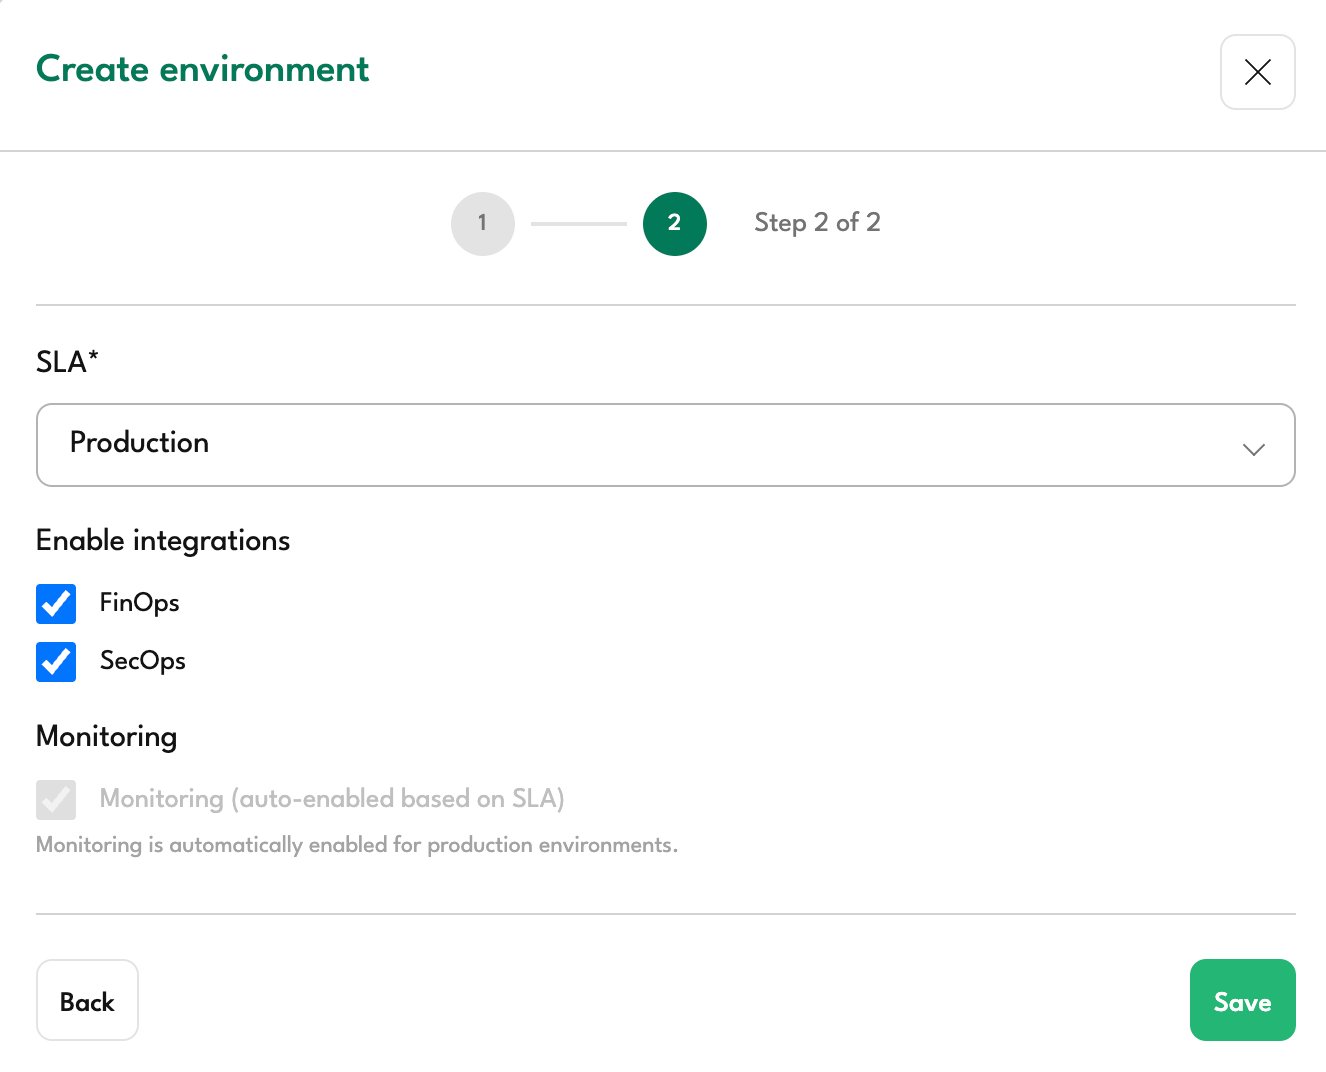
| Production | For production workloads requiring full support coverage |
| Non-Production | For development, testing, or staging environments |
| Unmanaged | For environments that only require visibility without active management |
Enable Integrations
Select which integrations to enable for this environment:
- FinOps: Cost management, optimization recommendations, and budget tracking
- SecOps: Security monitoring, compliance scanning
Monitoring
Monitoring is automatically enabled for Production and Non-Production environments. For Unmanaged environments, monitoring is not available.
Step 4: Complete the Setup
- Review your selections
- Click Save
Your AWS account is now connected to Factor Fifty. The initial data sync will begin automatically and may take a few minutes to complete.
Troubleshooting
Validation Failed
If validation fails, check the following:
- Verify the Account ID: Ensure the 12-digit account ID is correct
- Check the Role Name: Confirm the role name matches exactly (default:
FactorFifty-Admin) - Verify the External ID: The External ID in your trust policy must match the one shown in Factor Fifty
- Wait for propagation: IAM roles can take up to 30 seconds to propagate. Wait a moment and try again
- Check the trust policy: Ensure the Principal ARN is exactly
arn:aws:iam::872515262065:root
Permission Errors
If you receive permission errors after onboarding:
- Verify the
AdministratorAccesspolicy is attached to the role - Check that no Service Control Policies (SCPs) are blocking access
- Ensure the role hasn't been modified or deleted